Meural WiFi Photo Frame
In this guide, we'll take you through how to set up, connect, and control your Frame.- 1. Getting started
- 2. Hanging and assembly
- 3. Using your Frame
Hanging your Frame
We recommend starting up your Frame before you begin wall-mounting.
The supplied mounting parts are designed for drywall walls. Using this mount you can hang your Frame in either a portrait or landscape orientation, and change it when you want. You can also purchase a swivel mount that makes it easier to change the orientation.
The supplied mounting parts are designed for drywall walls. Using this mount you can hang your Frame in either a portrait or landscape orientation, and change it when you want. You can also purchase a swivel mount that makes it easier to change the orientation.
Choose where to put your Frame
The Meural Frame must be plugged into a power via a wall outlet at all times when in use. Make sure your power cord can appropriately reach your wall-mounting location from the power outlet.
Hanging with the standard mount
Step 1: Gather your supplies
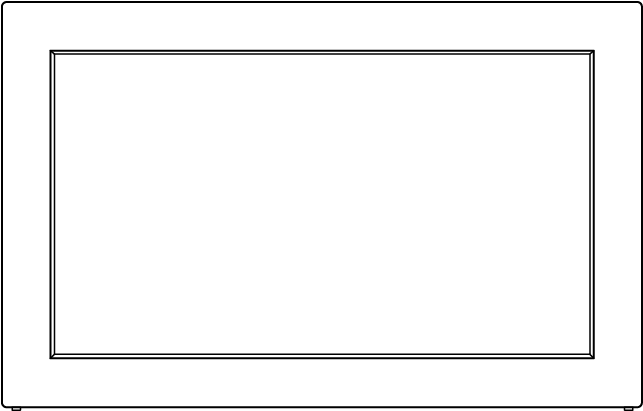
You’ll need to get the following materials out of the box your Frame came in:1. Meural Frame x12. Hanging cleat x13. Drywall anchors x24. Anchor screws x25. Power adapter x1


You'll also need these tools:
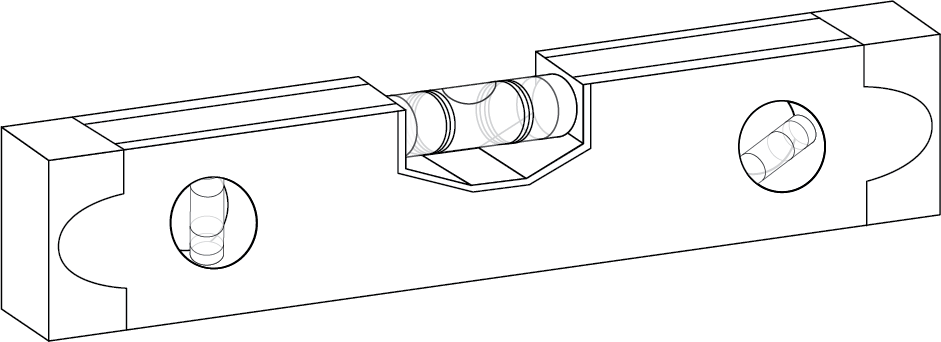
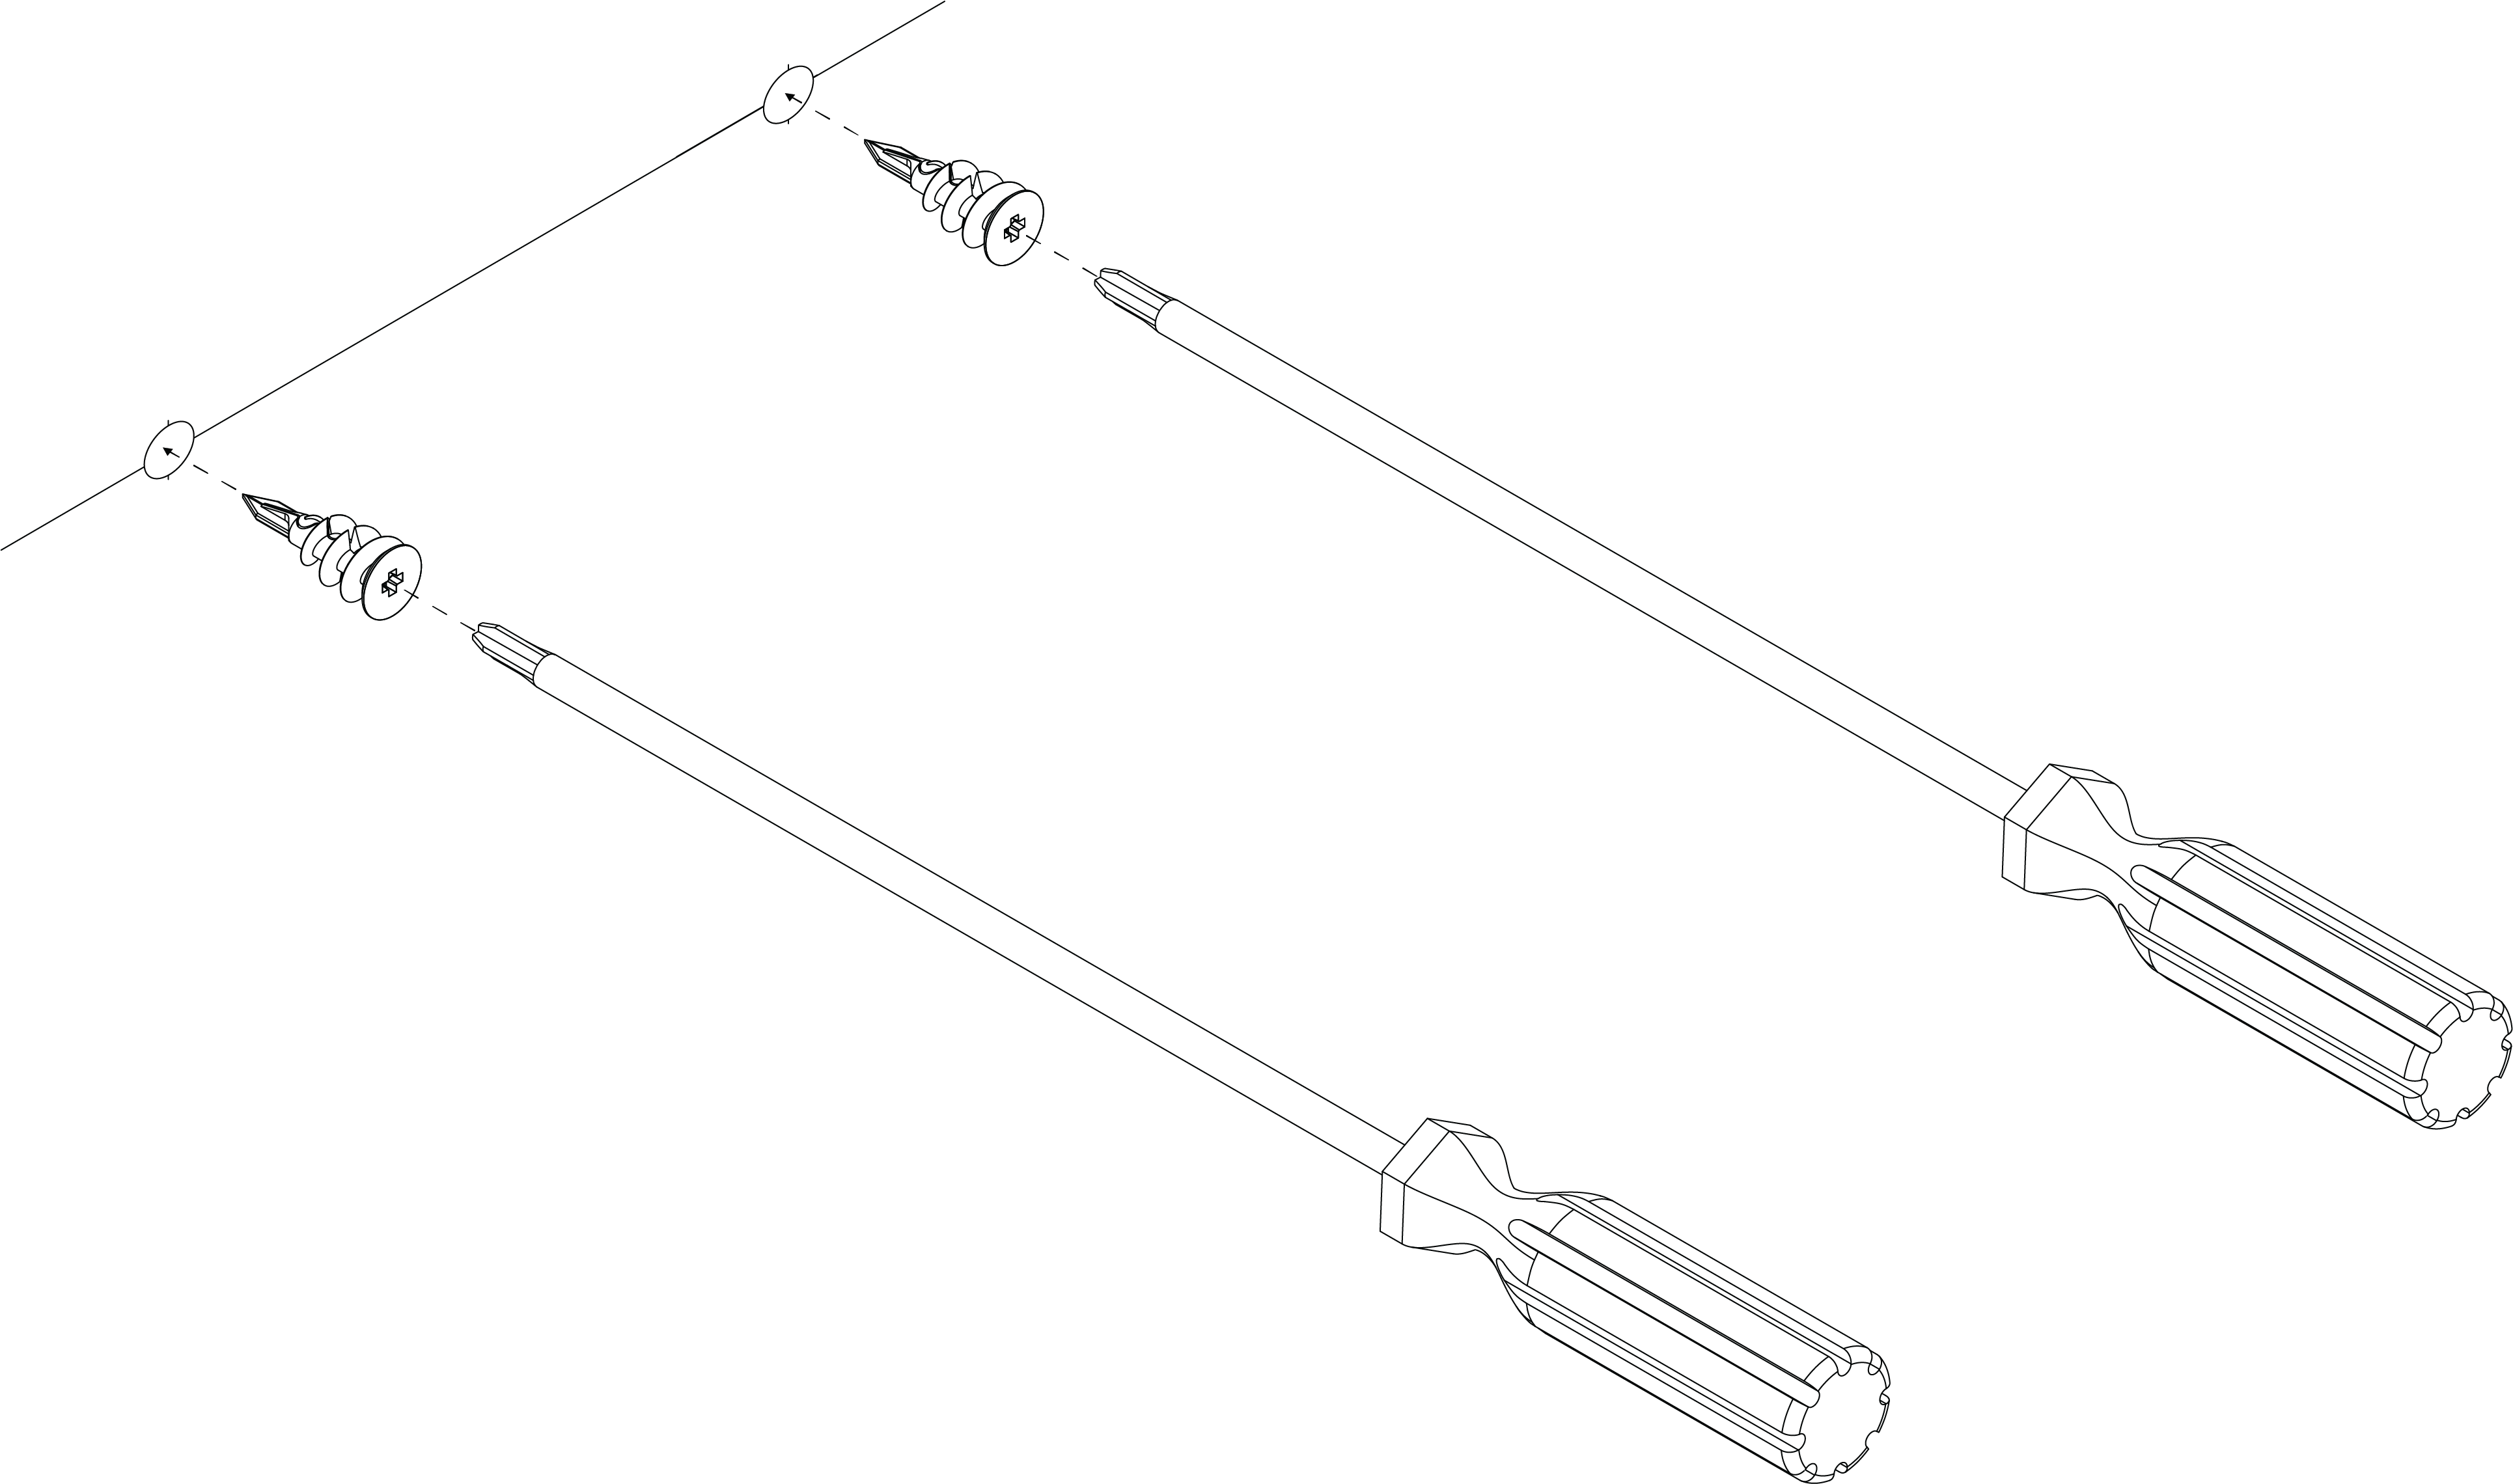
1. Phillips head screwdriver x12. Power drill x13. 11/32” or 9mm drill bit x14. Level tool5. Pencil x1
Step 2: Place your wall mount
Place your wall mount against the wall and make sure the mount is level. (You can use a ruler and pencil to draw a straight guideline)
Step 3: Mark the holes
Use your pencil to mark the center of the holes. Once you’ve marked the holes, set the pencil and wall mount aside.Step 4: Drill the holes
Use a drill with a 11/32 inch drill bit to drill the holes centered on the two pencil marks. You’ll need to drill about ¾ of an inch deep (or all the way through the drywall).Step 5: Insert the anchors
Use your screwdriver to gently screw in the two included plastic anchors until the top of the mounts are touching the surface of the wall.
Step 6: Install the wall mount
Position the mount with the holes aligned with the anchors. Make sure the position of the cleat matches the diagram below. Using your screwdriver, screw the screws through the holes in the mount into the anchors.Step 7: Plug in the Frame
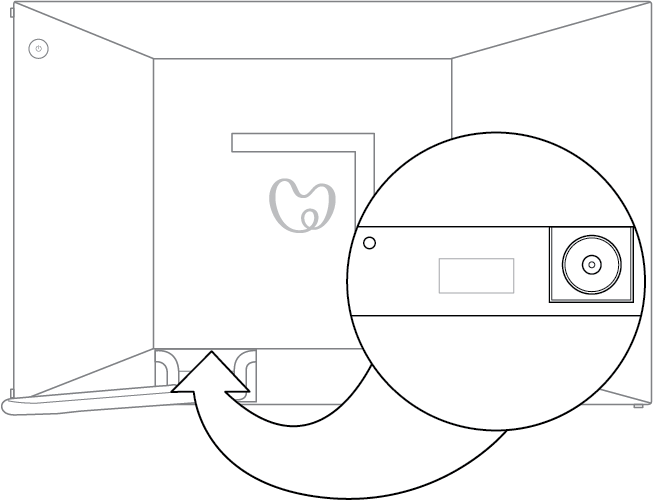
Make sure the metal kick-stand is folded in against the Meural frame.Plug in the power connector to the power port located on the bottom of the frame behind the metal stand.

Step 8: Hang the Frame
Hold the Frame with the screen facing you. Place the Frame against the wall and gently slide the hanging slot over the mount. You may hang your Frame in either its horizontal or vertical orientation. You can remove and re-hang your Frame in either horizontal or vertical at any time (the Frame will automatically detect the appropriate orientation).

Step 9: Plug in the power adapter
Plug the adapter into a standard wall outlet to power up your Frame.Up next: